
Adding products to your WooCommerce homepage is a great way to showcase your store’s offerings and drive sales from the moment visitors land on your site. Before diving into displaying products, it’s crucial to configure your WooCommerce General Settings to ensure your store’s foundation—location, selling restrictions, taxes, and currency—is set up correctly. Then, using WooCommerce’s built-in shortcodes, you can easily display products on your homepage without needing extra plugins. This beginner-friendly guide combines setting up your store’s general settings with a step-by-step process for adding products to your homepage, ensuring a seamless setup.
Why Set Up General Settings and Display Products?
- General Settings: These define your store’s core details, like where you sell, ship, and how taxes are calculated, ensuring compliance and a smooth customer experience.
- Homepage Products: Displaying products upfront grabs attention, promotes bestsellers or sales, and encourages visitors to start shopping immediately.
- No Plugins Needed: WooCommerce’s shortcodes make it easy to customize product displays, working with any page builder for flexibility.
Let’s start with configuring your store, then move to showcasing products.
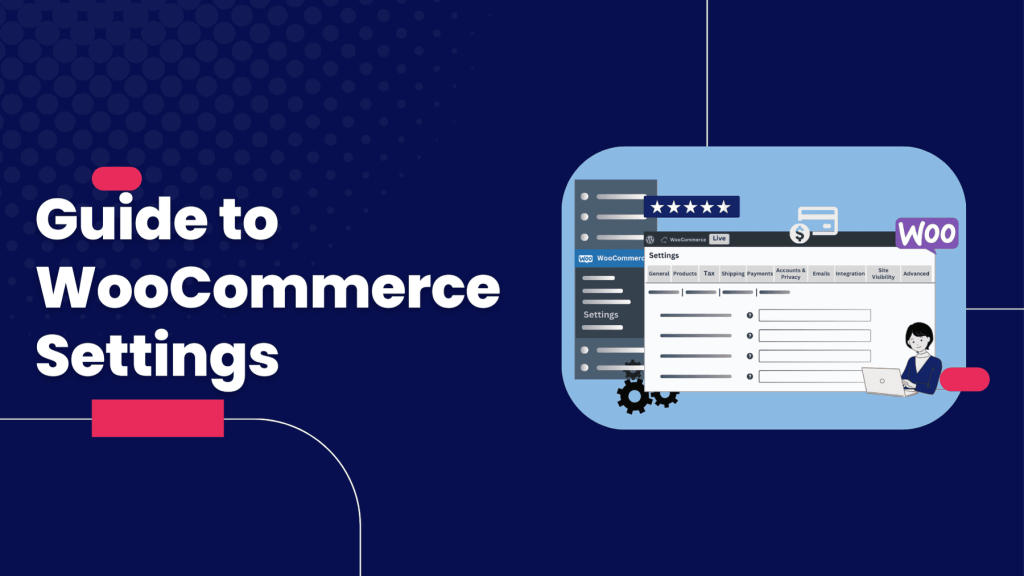
Part 1: Configuring WooCommerce General Settings
The General Settings tab in WooCommerce lays the groundwork for your store. Here’s how to set it up:
Step 1: Navigate to General Settings
- Log in to your WordPress Admin Panel.
- Hover over WooCommerce in the sidebar and click Settings.
- You’ll see tabs like General, Products, Shipping, and more. Stay on the General tab for now.
Step 2: Set Up Store Location
- Store Address: Enter your store’s base location (down to state/province). This determines default tax rates and shipping origins.
- Example: If your store is in New York, input your full address.
- Selling Locations:
- Choose who can buy from your store:
- Sell to All Countries: No restrictions.
- Sell to All Countries Except For: Exclude specific countries (e.g., Canada if you lack a local branch). A field appears to select excluded countries.
- Sell to Specific Countries Only: Limit sales to chosen countries, with a field to add them.
- Start typing country names to add them to the list.
- Choose who can buy from your store:
- Shipping Locations:
- Define where you ship:
- Ship to All Countries You Sell To: Matches your selling locations.
- Ship to All Countries: Ships everywhere, regardless of selling restrictions.
- Ship to Specific Countries Only: Select specific countries in a new field.
- Disable Shipping & Shipping Calculations: Ideal for digital products or services (removes shipping fields at checkout).
- Define where you ship:
Step 3: Configure Customer Location
- Default Customer Location: Determines how taxes and shipping are calculated before customers enter their address.
- Options:
- No Location by Default: Customers must input their zip code for calculations.
- Shop Base Address: Uses your store’s address for initial calculations.
- Geolocate: Estimates location via the customer’s IP address.
- Geolocate with Page Caching Support: Better for stores using caching plugins.
- Tip: Geolocate options provide a smoother experience but may need caching compatibility.
- Options:
Step 4: Enable Taxes and Store Notices
- Taxes:
- Check Enable Taxes and Tax Calculations if your store requires taxes (based on your location and laws).
- This unlocks a Tax tab for further setup (covered in WooCommerce’s tax documentation).
- Store Notice:
- Enable a Store Notice to display a dismissible message across your site (e.g., “Use code SAVE10 for 10% off!”).
- Add your message in the provided field.
Step 5: Set Currency Options
- Currency: Choose one currency (e.g., USD, EUR) for your store.
- Currency Position: Decide where the symbol appears (e.g., $100 or 100$).
- Thousand Separator: Set the character (e.g., comma: 1,000).
- Decimal Separator: Choose the decimal point (e.g., period: 99.99).
- Number of Decimals: Typically 2 for standard pricing (e.g., $19.99).
- Tip: Align these with your target market’s conventions.
Step 6: Save Changes
- Click Save Changes at the bottom to apply your settings.
Now that your store’s foundation is set, let’s add products to your homepage.
Part 2: Adding Products to Your Homepage with Shortcodes
WooCommerce’s shortcodes let you display products anywhere on your site, including the homepage, with full control over quantity, layout, and filters like categories or sales. Here’s how:
Step 1: Edit Your Homepage
- Go to Pages > Edit your homepage (or create one if it’s not set).
- Open your Page Builder:
- Use Gutenberg, Elementor, Divi, or any builder you prefer—shortcodes work with all.
- If your theme sets the homepage, check Appearance > Customize or Theme Settings.
- Choose where to place your products (e.g., below a banner or in a “Featured Products” section).
Step 2: Add a Shortcode Widget
- In your builder, add a Shortcode Widget or Shortcode Block (in Gutenberg).
- No shortcode widget? Use a Text Editor Widget and paste the shortcode there.
- Click into the widget to enter your shortcode.
Step 3: Display Products with Basic Shortcodes
Start with a simple shortcode to show products in a grid.
- Show a Set Number of Products:
- Use with a limit attribute.
- Example: Display 8 products: textCollapseWrapCopy
- Set Columns:
- Add columns to control the grid layout.
- Example: 8 products in 4 columns (2 rows): textCollapseWrapCopy
- Preview:
- Save and view your homepage. Adjust limit or columns (e.g., ) to fit your design.
Step 4: Customize with Advanced Shortcodes
Tailor your display to highlight specific products:
- By Category:
- Show products from a category (e.g., “Garden Decor”).
- Check exact category slugs in Products > Categories.
- Example: textCollapseWrapCopy
- Note: Use the slug (e.g., “garden-decor” for “Garden Decor”) and ensure it’s exact.
- New Arrivals:
- Display the newest products.
- Example: textCollapseWrapCopy
- On-Sale Products:
- Promote discounts.
- Example: textCollapseWrapCopy
- Popular or Bestselling Products:
- Show top performers.
- Example: textCollapseWrapCopy
- Note: Requires sales data to work effectively.
- Other Options:
- Try for featured items or for recent additions.
- Explore more in WooCommerce’s shortcode documentation.
Step 5: Style and Test
- Style the Section:
- Use your builder to adjust spacing, fonts, or backgrounds.
- Add a heading (e.g., “Shop Our Bestsellers”) for clarity.
- Test Functionality:
- Click products to ensure links work.
- Add to cart to verify checkout.
- Check mobile responsiveness.
- Save and Publish:
- Update your page to make it live.
Combining General Settings with Product Displays
Your General Settings impact how products function on your homepage:
- Selling/Shipping Locations: Ensure your products are visible and shippable to your target audience.
- Taxes: If enabled, prices on your homepage reflect tax calculations based on the customer’s location.
- Currency: Products display in your chosen currency, keeping pricing clear.
- Store Notice: Use this to promote homepage products (e.g., “Free shipping on featured items!”).
For example, if you sell only to the U.S. and ship to specific states, your homepage products will only be available to U.S. customers, with taxes calculated based on your store’s base or geolocation.
Tips for Success
- Keep Settings Accurate: Double-check your store address and selling locations to avoid checkout issues.
- Use Clear Shortcodes: Verify category slugs and attributes to prevent empty displays.
- Start Small: Test with , then add filters like category or on_sale.
- Enhance with Analytics: Track homepage product clicks with tools like Google Analytics and UTM parameters (e.g., utm_source=homepage&utm_campaign=featured).
- Test Across Devices: Ensure your product grid looks great on mobile and desktop.
- Leverage Store Notices: Promote limited-time offers tied to homepage products.
- Check Documentation: WooCommerce’s tax and shortcode guides offer deeper insights for complex setups.
Troubleshooting
- Products Not Showing:
- Confirm products are published and match the shortcode’s criteria (e.g., correct category slug).
- Ensure sales exist for or discounts for [on_sale=\”true\”].
- Tax or Shipping Issues:
- Revisit General Settings to verify location and tax settings.
- Check the Tax or Shipping tabs if enabled.
- Layout Problems:
- Adjust columns to suit your theme.
- Use builder settings for alignment.
- Shortcode Errors:
- Test a basic shortcode like .
- Ensure WooCommerce is updated.
Conclusion
Setting up your WooCommerce store’s General Settings and adding products to your homepage with shortcodes is a powerful combo to launch a professional online store. By defining your store’s location, taxes, and currency, you create a solid foundation. Then, with shortcodes, you can showcase products exactly how you want—whether it’s new arrivals, sales, or curated categories. This approach is simple, plugin-free, and fully customizable.
For more help, explore WooCommerce’s official documentation or search for community tips on platforms like X. Ready to get started? Configure your settings and add your first product shortcode today!
Call to Action: Try setting up your General Settings and adding a product grid to your homepage now! Share your store or ask questions in the comments, and subscribe for more WooCommerce guides.